
 |
| The fabric I used in this bag is Figures by Zen Chic for Moda |

The bags measure 9 1/2" Tall x 11" Wide x 4" Deep
I am showing pictures with some variations, but the following directions and all of the measurements make my favorite looking bag (after I did a lot of experimenting). The bags that I am writing directions for are the center and right bags in the above the picture.
THIS IS WHAT YOU NEED:
- Scraps of fabric at least 8 1/2" long for the body. You want a nice variety, so at least 5 or 6 different fabrics. Cut 16 to 20 strips 8 1/2" long in varying widths between 2 1/4" and 1 1/2"
- 2 strips in the same fabric, 2 1/2" x 12 1/2" for the top strip of the bag
- 2 light strips of the same color, 1" x 12 1/2" to separate the body from the top strip
- 1 rectangle, 4 1/2" x 12 1/2" for the bottom
- 2 strips the same color, 4" x 14" for the straps
- 1 piece of fabric, 12 1/2" x 24 1/2" for the lining (with some creative piecing you can use a fat quarter)
- You need 3/8 of yard. Cut it into:
- 1 piece, 12 1/2" x 24 1/2"
- 2 strips 4" x 14" for the handles
 |
| The straps aren't in this picture, my bad..oops, the lining isn't here either... |

1. Sew your 8 1/2" strips together to form 2 sections that are 12 1/2" wide or a bit wider. Press.

2. Trim each section to be 8" x 12 1/2". When you are trimming the ends, you may have to trim from both sides so you don't have too narrow of a strip at one end.

3. Line all of the pieces up following the picture below and sew them together. I like to press the seam allowances of the 1" strip away from itself, so that that strip is recessed in your bag.

 |
| You don't have to quilt your outer layer, you can apply the interfacing to it instead if you prefer :) |
4. I like the look of quilted bags, so I lay my outer bag on top of a piece of low loft cotton or cotton mix batting. You would need to quilt it as desired, which this tutorial doesn't cover. . This tutorial walks you through the quilting process...it is great! Just remember, you are only putting the batting and outer bag section together, NO BACKING!! Trim the batting from the edges when you are done.
5. Now iron the interfacing onto the lining and straps. Be sure to follow the manufactures instructions. Start in the middle of your fabric and work your way out to eliminate the chance of creases in your fabric.
6. Fold the lining and the outer bag section in half with right sides together and pin. Sew a little more than 1/4" seam allowance on each side of both sections. I sew 3/8" because I have a nice line on my machine for that.

7. Trim the corners to make the bottom flat. Start by clipping the ends of the seam so you can press the entire seam open.

8. Place a quilters ruler on the flattened corner, as shown in the picture below. Line up the 2" line on the ruler with the seam of the bag. Be sure the tip of the bag corner is on the 2" horizontal line of the ruler and the bottom of the ruler spans 4" across the corner of the bag. If you can't get all of these things to line up, you need to readjust where the seam allowance falls, it isn't in the middle of the triangle that your flattened corner forms. When you get the ruler positioned correctly on the bag, draw a line 4" across the corner. You can see it in the next picture.

9. Sew across the line. Make sure you backstitch in the beginning and end of your stitches. Trim the corner off of the bag, leaving a 1/4" seam allowance. Repeat for each of the corners on your outer bag and lining.

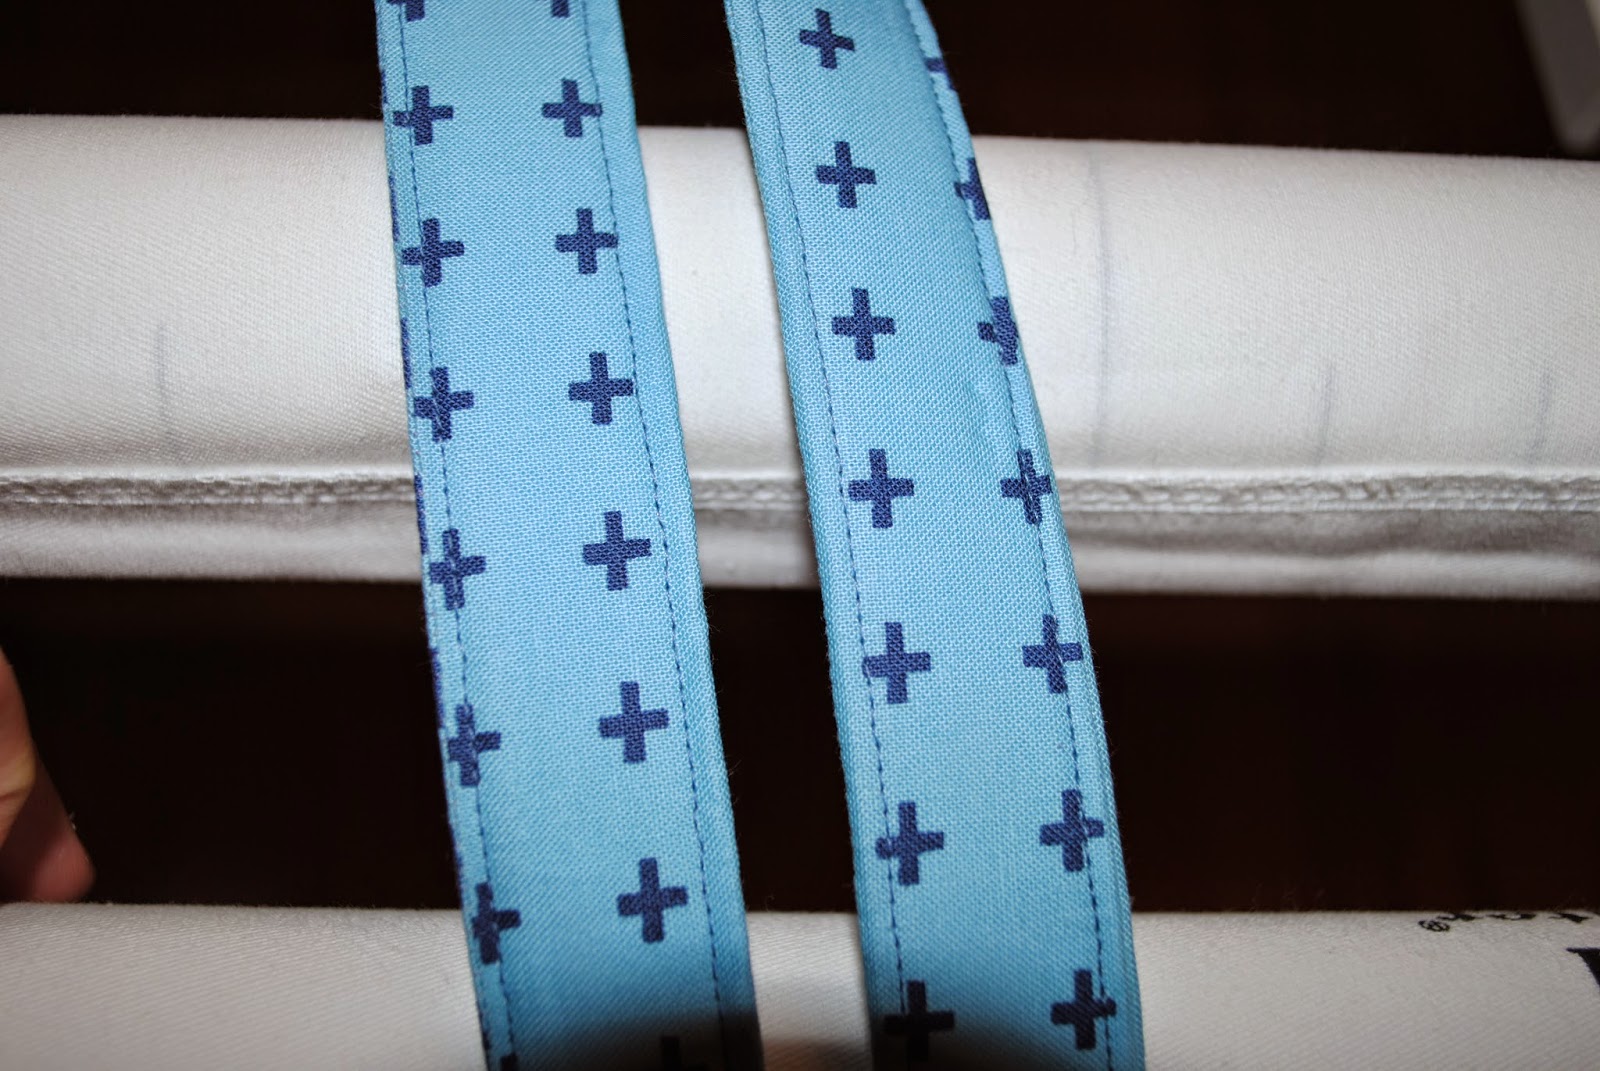
10. Prepare the straps. Fold each in half and press. Then, fold each side of the halves in toward the center, so the raw edges of both sides almost touch. Press. Fold again on the original fold line, so none of the raw edges are showing.

11. Topstitch each side of the straps in a coordinating thread. Basically a topstitch is sewing an 1/8" away from the edge.
12. Attach the straps to the outer bag. Turn the outer bag so the right side is showing. Find the center of each side of your bag. Mark the center with a pin. Measure 2" out from the center and pin one of the ends of the strap onto the bag. Place the other end of the bag strap 2" away from the pin on the other side. Repeat for the other side of the bag. The raw edges of the straps should be lined up with the raw edges of the bag and the straps will be pointing down. The space between the straps should be 4" across. Sew across the top of the straps several times to secure them to the bag. Sew close to the top of the bag to insure your stitches will be within the seam allowance when you sew the lining onto the bag.

13. Put the outer bag portion inside the lining portion. The outer bag will be right side out, and the lining will be wrong side out, so basically the right sides will be facing each other. Tuck the straps inside.

14. Pin the two sections together all around the bag. Start by aligning and pinning the side seams. Pin well around the straps so they aren't sagging.
 |
| All you can see in this photo are wrong sides |
15. Sew completely around the top of the bag. I used a 3/8" seam allowance again.
16. You may be wondering how I turn the bag at this point. "Did she forget something?" you might be thinking. This is what I have been doing lately. I rip a hole in the side of the lining with my seam ripper to turn the bag. Stay away from the top and the bottom of the bag!! The hole may get a little bigger after you start pulling the bag through.


17. Start turning the bag. Pull both sections out so only the right sides are showing. Sew the opening in the lining closed.

18. Push the lining portion into the outer bag. Press the top seam of the bag. Topstitch the top edge of the bag with a coordinating thread.
I like to press the side seams of the bag now as well. You are done with your
bag, I hope you love it!!

I am a pattern designer and have over 60 patterns for sale in my Etsy Shop. If like my tutorial, you may want to check out my patterns as well! I write my patterns for precuts and fat quarters and they are generally pretty quick and easy.
I also have a book out called "Quilts from Sweet Jane" which has 10 patterns for precut fabric. You just need one precut bundle of fabric and one neutral fabric and you can make a whole quilt. My patterns are simple to start and quick to finish!
Here is a link to my Facebook page. |